Wednesday, 21 May 2014

Monster Cookies

Hi there so today I thought I would share with you one of my partner's favorite cookies. They are the ones he always asks for and they are gone in less than 2 days no matter how man I make. They are called monster cookies because they are meant to be big but I make them a lot smaller because of our little guy. The last thing this mama needs is a 2 year old with a sugar rush. This recipe is an adapted version of my great-grandmothers oatmeal cookie recipe, I hope you enjoy it.

Ingredients:

  • 1 1/2 cups all purpose flour
  • 1/2 tsp salt
  • 1 cup white sugar
  • 1 cup packed brown sugar
  • 2 eggs 
  • 1 tsp vanilla
  • 3 cups quick cooking oats
  • 1 tsp baking soda
  • 1 cup butter or margarine
  • 1 pkg of milk chocolate chips
  • 1 (200g) pkg of M&Ms
  • 1/2 cup baking jube jubes
Instructions:

  1. Preheat your over to 350 degrees Fahrenheit and line your cookies sheet(s) with parchment paper.
  2. Beat the butter and sugar until smooth. 
  3. Mix in the eggs and vanilla.
  4. In a separate bowl combine the flour, salt and baking soda. 
  5. Gradually mix this dry mixture in with the butter mixture.
  6. Stir in the oatmeal, followed by the chocolate chips, M&Ms and jube jubes. Your dough may seem crumbly but as long as when you squeeze it together it sticks it will be fine, otherwise you may add a little bit of water, but only add a small amount.
  7. Make your dough into balls and press them into your lined cookie sheets, leave some room between them so they do not attach when they expand.
  8. Bake for 10-12 minutes or until the bottom edges become slightly browned. Let cool for 5 minutes on the cookie sheet and let cool the rest of the way on a cooling rack.
Enjoy your cookies but please use caution when handling hot pans and hot cookies. Use common sense and protection.

UPDATE: Here is the monster cookie picture. I am glad I got the picture when I did because they were gone the next day.

Simple Deviled Eggs

One thing that never ceases to amaze me is how difficult people seem to think deviled eggs are. So to end this myth I thought I would share my recipe with you.

Ingredients:

  • 2 tsp Mayonnaise
  • 1 tsp White Sugar
  • 1 tsp Vinegar
  • 1/2 tsp salt
  • 1 tsp mustard
  • 6 eggs
  • paprika
Instructions:

  1. Boil your eggs and let them cool. 
  2. Peel the shells off and cut the eggs length wise.
  3. Remove the yolks and put them into a bowl.
  4. Mix in all of the ingredients except for the paprika.
  5. Put the mixture back into the eggs and sprinkle with paprika.
  6. Enjoy
UPDATE: This is the deviled egg picture


Simple Potato Salad

So spring is finally here and with it comes picnic season, lots of barbecues and lots of potato salad. This recipe is simple and even those who are not the biggest fan of potato salad might enjoy this. I am personally not a huge fan of potato salad but I will eat this. This recipe is simple and can be made either in stages or in a day.

Ingredients:

  • 2 lbs of potatoes 
  • 6 eggs
  • 1 lb of bacon (optional)
  • 1 onion
  • 2 cups mayonnaise
  • salt (to taste)
  • pepper (to taste)
  • 1/2 tsp celery salt 
  • 2 tsp mustard
Instructions:

  1. Boil your potatoes and your eggs thoroughly. Let them cool.
  2. Cook your bacon.
  3. Peel and chop your eggs and potatoes.
  4. Crumble your bacon and add to your eggs and potatoes.
  5. Chop your onion and add it to the bowl.
  6. Mix in 2 cups of mayonnaise, your celery salt, mustard, salt and pepper. 
  7. Chill and serve.
Enjoy your potato salad and please use caution when handling knives.


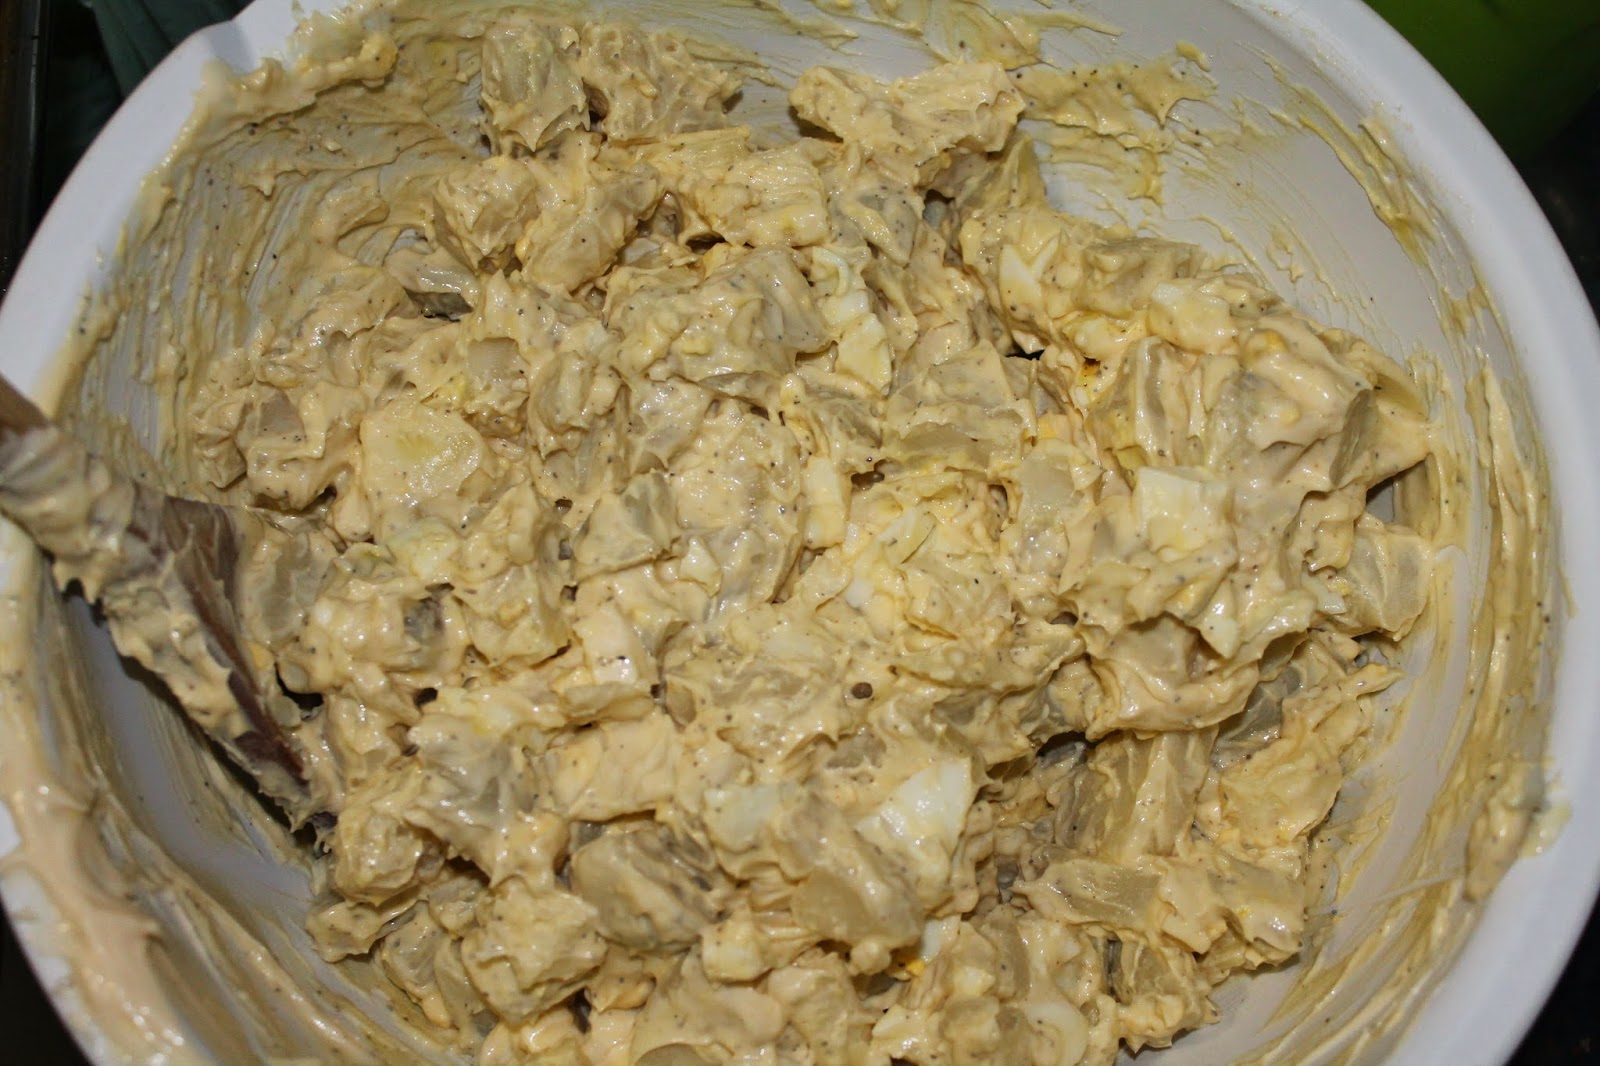
 UPDATE: This is the potato salad picture, I did not use bacon in mine but it was still amazing.


Kids Wall Art

Hi there,
So for those of you who have visited my facebook fan page you would have seen my announcement about expanding the blog. Most of the requests I got were to add a kids activity section. So as my first post on an activity to do with your kids (or by yourself if you prefer) I thought I would share a project I did with my son that he absolutely loved doing and they turned out so nice I actually want them displayed in my house front and center. This project was so fast and easy we did 3 canvases in an hour and my son loved every minute of it.

To do this project you will need

  • canvas
  • paint (3 colors)
  • primer (optional)
  • painters tape
  • a circular sponge dabber or brush
  • table covering
All you need to do for this project is to tape off the areas you don't want paint on. If you prefer to prime first by all means do so now. Priming will reduce bleeding through of the other paint and give you cleaner lines.You will see we did a letter 'C' for my sons name and we did stripes, as well as a chevron which is not shown.

The next thing you do is cover your table we used a garbage bag and taped it down with painters tape. Than you need to put out your paint.

Dip your brush or dobber in the paint and dot all three colors all over the canvases. there does not need to be a pattern in fact in my opinion the more random the better.

Let your master piece dry and remove the painters tape from the canvases and enjoy your paintings.


Friday, 16 May 2014

Fan Page on Facebook

Hello blogging community I have recently started a fan page for this blog please like and/or follow the page and invite your friends to do the same.

Updates

So recently I have been thinking about expanding to include posts about things other than cooking. I have been thinking about including some baby related projects as well as possibly some gift ideas. I am very open to suggestions so feel free to message me using the link which is now located at the side of the page under the "About Me". For new visitors to the blog I am a full time university student and a mom. I am doing a double major in psychology and sociology. I understand life is busy and sometimes it is just easier to buy things at the store but when I started really reading the labels on some of the things I was buying at the store I realized somethings were a lot healthier to make myself, not to mention cheaper. I also started realizing how many people were intimidated by making things themselves, things I had always been taught to make myself as many people in small towns are so I decided to start a blog about it.

Thursday, 15 May 2014

So Simple Fudge

If you can work a microwave you can make this fudge. This recipe my 2 and a half year old can almost make on his own, he just needs help with the hot ingredients. This fudge has all of the taste with none of the fuss and who doesn't like that. I know how busy every one can be myself included so finding a recipe that fits into that schedule is absolutely amazing some days.

Ingredients:

  • 1 1/2 pkgs chocolate chips (any flavor, regular sized bags)
  • 1 regular can sweetened condensed milk
  • 1 cup chopped nuts or mix-ins (optional)
Instructions:

  1. Put all ingredients into a microwave safe bowl.
  2. Melt until creamy (I usually do 30 second bursts and stir in between so I don't burn it).
  3. Pour into an 8 x 8 inch pan (I recommend lining this pan).
  4. Cool for at least 2 hours.
  5. Cut and serve.
See I told you it was simple. Enjoy.

UPDATE: This is the fudge before it was cut.